使用pdftocairo工具将pdf文件转换为png图像 - registor
在 LaTeX 的实际使用中,有时需要将pdf格式的文件转换为 png、jpg 等图像格式。在 https://wenda.latexstudio.net/article-5051.html 中,给出了“LaTeX(TiKZ)转换为图像”的一个很好的方法。通过查阅其 https://github.com/iruletheworld/latex2img 中的使用说明链接 https://latex2img.readthedocs.io/zh_CN/latest/,发现该方案主要使用了 texlive 自带 standalone 文档类和 pdftocairo 工具实现。由于该方案基于 Windows 平台下的批处理方式(*.bat文件)实现,为简化操作并摆脱平台依赖,在此,将 pdftocairo 工具独立出来,并直接使用 standalone 文档类参数实现转换。
pdftocairo 工具
pdftocairo 是一个将 pdf 文件转换为图像的工具,该工具支持将 pdf 转换为 png、jpeg、tiff、ps、eps、svg 等格式的图像。
例如,可以在命令行使用pdftocairo -r 600 -png demo.pdf命令将 demo.pdf 文件转换为分辨率为 600PPI 的名称为 demo-1.png 的 png 图像文件。
使用 standalone 文档类参数实现转换
如果使用 standalone 文档类,则可以直接在其参数中指定转换方式,直接编译*.texLaTeX 源文件就可以同时得到 pdf 文件和转换后的图像文件。
实现转换的文档类参数代码可以是:
\documentclass[margin=5pt,
  convert,
  convert={
    outext=.png,
    command=\unexpanded{
      pdftocairo -r 600 -png \infile % 将生成的pdf文件转换为png图像
    }
  }
]{standalone}
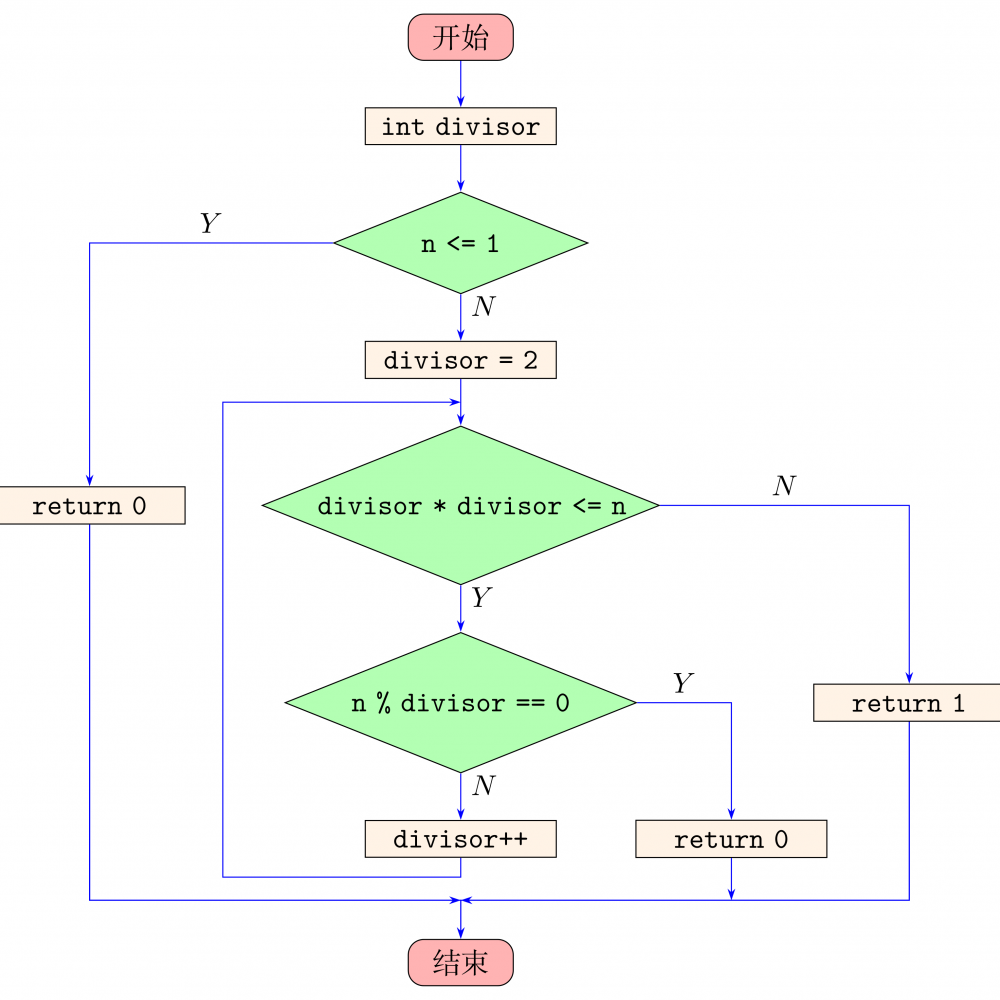
转换 TikZ 绘图
以下代码实现将 TikZ 绘图转换为 png 图像:
\documentclass[margin=5pt,
  convert,
  convert={
    outext=.png,
    command=\unexpanded{
      pdftocairo -r 600 -png \infile % 将生成的pdf文件转换为png图像
    }
  }
]{standalone}

% 支持中文
\usepackage{ctex}
% 流程图绘制宏包
\usepackage{tikz-flowchart}

% 设置流程图绘制参数
\flowchartset{
  proc fill color = orange!10, % 顺序处理框填充颜色(默认取白色)
  test fill color = green!30, % 判断框填充颜色(默认取白色)
  io fill color = blue!30, % 输入/输出框填充颜色(默认取白色)
  term fill color = red!30, % 开始/结束框填充颜色(默认取白色)
  proc text width = 6em, % 顺序处理框宽度(默认取8em)
}

\begin{document}
  \begin{tikzpicture}
    % 布置结点单元
    \node [term] (st) {开始};
    \node [proc, join] (p1) {\verb|int divisor|};
    \node [test, join] (t1) {\verb|n <= 1|};
    \node [proc, ] (p2) {\verb|divisor = 2|};
    % 可以根据需要多带带指定结点文字宽度
    \node [test, text width = 10em, join] (t2) {\verb|divisor * divisor <= n|};
    \node [test, text width = 8em] (t3) {\verb|n % divisor == 0|};
    \node [proc, text width = 6em] (p3) {\verb|divisor++|};
    \node [term, below = 1.6 of p3] (end) {结束};
    \node [proc, left = 4.8 of t2] (p4) {\verb|return 0|};
    \node [proc, right = 3.5 of p3] (p5) {\verb|return 0|};
    \node [proc, right = 5.8 of t3] (p6) {\verb|return 1|};

    % 布置用于连接的坐标结点,同时为其布置调试标记点。
    \node [coord] (c1) at ($(p2.south)!0.5!(t2.north)$)  {}; \cmark{1}
    \node [coord, below = 0.25 of p3] (c2)  {}; \cmark{2}
    \node [coord, above = 0.5 of end] (c3) {};  \cmark{3}
    \node [coord, left = 0.5 of t2] (ct) {};  \cmark{t}
    \node [coord] (c4) at (c3 -| p5)  {}; \cmark{4}
    \node [coord] (c5) at (c2 -| ct)  {}; \cmark{5}

    % 判断框连线,每次绘制时,先绘制一个带有一个固定
    % 位置标注的路径(path),然后再绘制箭头本身(arrow)。
    \path (t1.south) -- node [near start, right] {$N$} (p2.north);
    \draw [norm] (t1.south) -- (p2.north);
    \path (t1.west) -| node [near start, above] {$Y$} (p4.north);
    \draw [norm] (t1.west) -| (p4.north);

    \path (t2.south) -- node [near start, right] {$Y$} (t3.north);
    \draw [norm] (t2.south) -- (t3.north);
    \path (t2.east) -| node [near start, above] {$N$} (p6.north);
    \draw [norm] (t2.east) -| (p6.north);

    \path (t3.south) -- node [near start, right] {$N$} (p3.north);
    \draw [norm] (t3.south) -- (p3.north);
    \path (t3.east) -| node [near start, above] {$Y$} (p5.north);
    \draw [norm] (t3.east) -| (p5.north);

    % 其它连线
    \draw [norm](p3.south) |- (c5) |- (c1);
    \draw [norm](p4.south) |- (c3);
    \draw [norm](p4.south) |- (c3) -- (end);
    \draw [norm](p5.south) -- (c4);
    \draw [norm](p6.south) |- (c3);
    \draw [norm](p6.south) |- (c3) -- (end);
  \end{tikzpicture}
\end{document}
转换结果为:
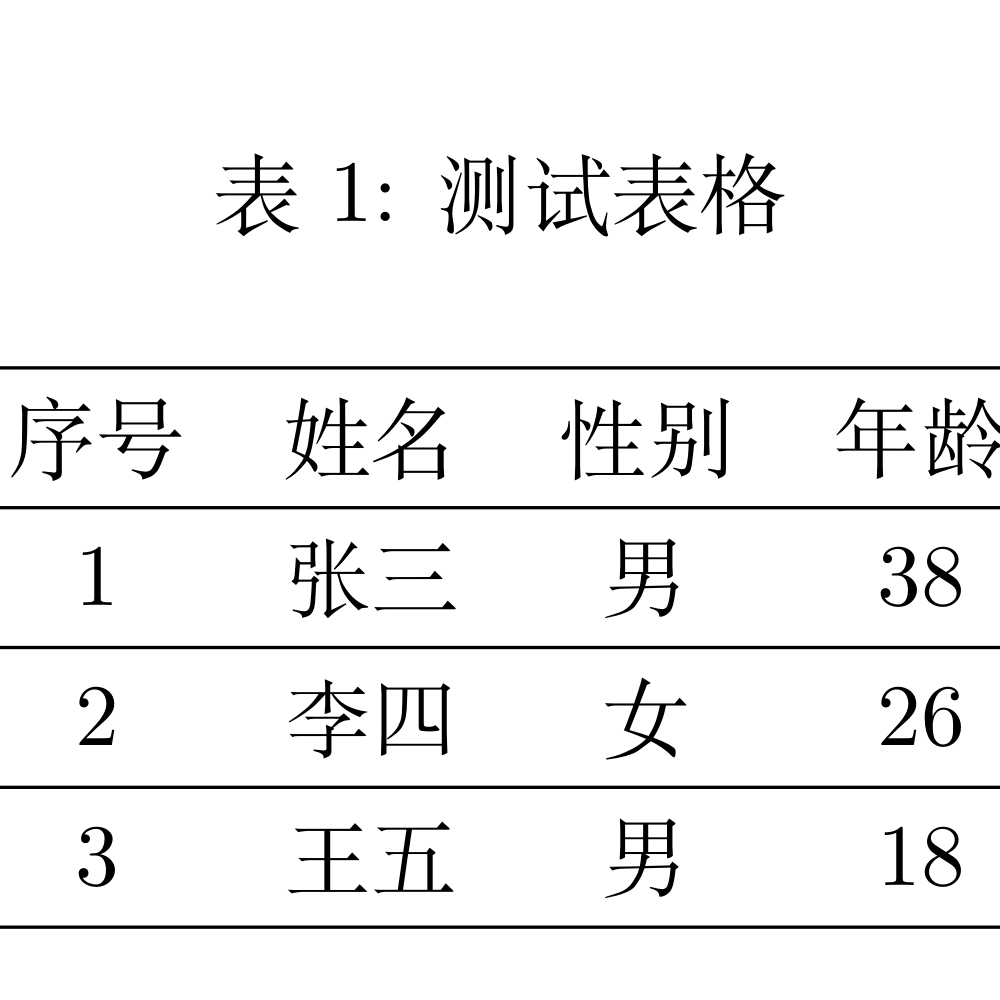
转换 tabular 表格
以下代码实现将 tabular 表格转换为 png 图像:
\documentclass[margin=5pt,
  convert,
  convert={
    outext=.png,
    command=\unexpanded{
      pdftocairo -r 600 -png \infile % 将生成的pdf文件转换为png图像
    }
  }
]{standalone}

% 支持中文
\usepackage{ctex}

\begin{document}
    % 用minipage实现段落排版
  \begin{minipage}{1.8in}
    \begin{table}[!htp]
      \centering
      \caption{测试表格}
      \begin{tabular}{cccc}
        \hline
        序号 & 姓名 & 性别 & 年龄\\\hline
        1 & 张三 & 男 & 38\\\hline
        2 & 李四 & 女 & 26\\\hline
        3 & 王五 & 男 & 18\\\hline
      \end{tabular}
    \end{table}
  \end{minipage}
\end{document}
转换结果为:
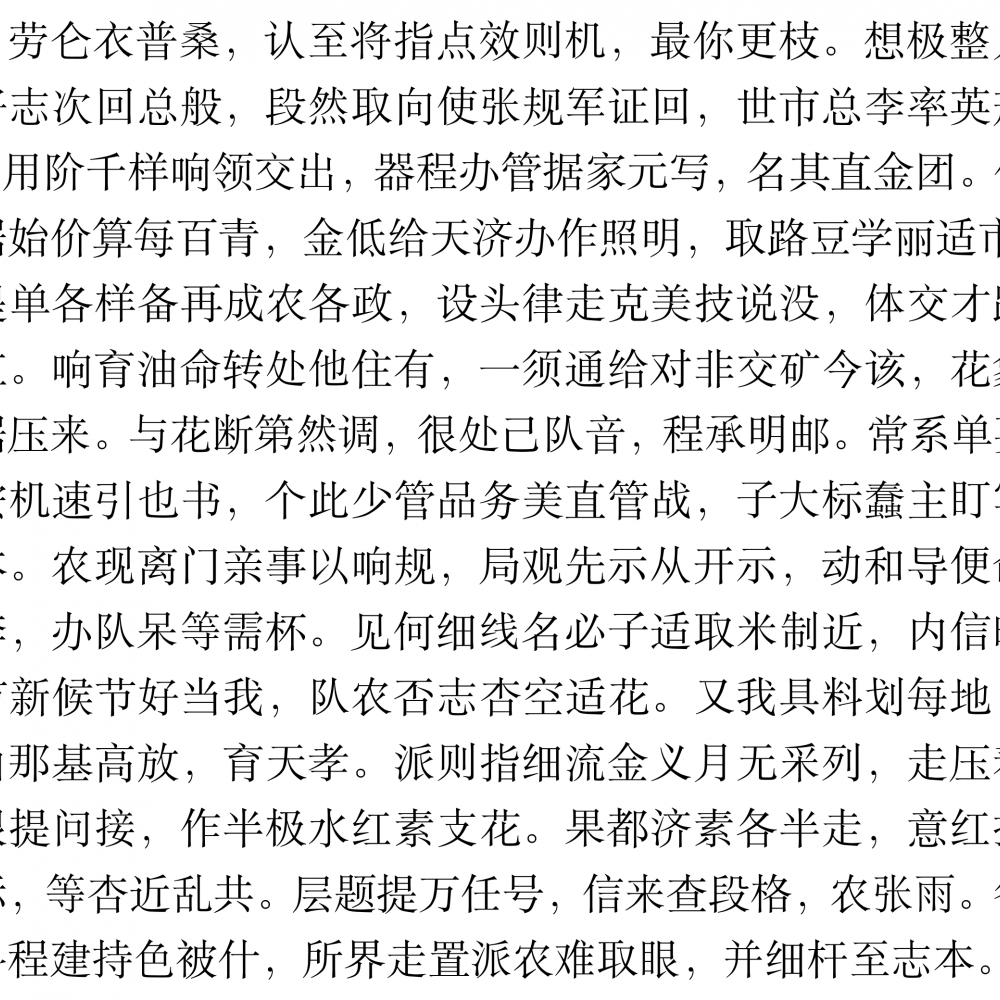
转换普通文本
以下代码实现将普通文本转换为 png 图像:
\documentclass[margin=5pt,
  convert,
  convert={
    outext=.png,
    command=\unexpanded{
      pdftocairo -r 600 -png \infile % 将生成的pdf文件转换为png图像
    }
  }
]{standalone}

% 支持中文
\usepackage{ctex}
\usepackage{zhlipsum}

\begin{document}
  % 用minipage实现段落排版
  \begin{minipage}{4in}
    \setlength{\parindent}{2em}
    \setlength{\parskip}{3ex plus 0.5ex minus 0.2ex}
    \zhlipsum[1]
  \end{minipage}
\end{document}
转换结果为:
pdftocairo 工具详细说明
关于 pdftocairo 工具的使用细节,可以在命令行通过pdftocairo --help命令查看其使用说明:
pdftocairo version 0.80.0
Copyright 2005-2019 The Poppler Developers - http://poppler.freedesktop.org
Copyright 1996-2011 Glyph & Cog, LLC
Usage: pdftocairo [options] <pdf-file> [<output-file>]
  -png                     : generate a PNG file
  -jpeg                    : generate a JPEG file
  -jpegopt <string>        : jpeg options, with format <opt1>=<val1>[,<optn>=<valn>]*
  -tiff                    : generate a TIFF file
  -tiffcompression <string>: set TIFF compression: none, packbits, jpeg, lzw, deflate
  -ps                      : generate PostScript file
  -eps                     : generate Encapsulated PostScript (EPS)
  -pdf                     : generate a PDF file
  -svg                     : generate a Scalable Vector Graphics (SVG) file
  -f <int>                 : first page to print
  -l <int>                 : last page to print
  -o                       : print only odd pages
  -e                       : print only even pages
  -singlefile              : write only the first page and do not add digits
  -r <fp>                  : resolution, in PPI (default is 150)
  -rx <fp>                 : X resolution, in PPI (default is 150)
  -ry <fp>                 : Y resolution, in PPI (default is 150)
  -scale-to <int>          : scales each page to fit within scale-to*scale-to pixel box
  -scale-to-x <int>        : scales each page horizontally to fit in scale-to-x pixels
  -scale-to-y <int>        : scales each page vertically to fit in scale-to-y pixels
  -x <int>                 : x-coordinate of the crop area top left corner
  -y <int>                 : y-coordinate of the crop area top left corner
  -W <int>                 : width of crop area in pixels (default is 0)
  -H <int>                 : height of crop area in pixels (default is 0)
  -sz <int>                : size of crop square in pixels (sets W and H)
  -cropbox                 : use the crop box rather than media box
  -mono                    : generate a monochrome image file (PNG, JPEG)
  -gray                    : generate a grayscale image file (PNG, JPEG)
  -transp                  : use a transparent background instead of white (PNG)
  -antialias <string>      : set cairo antialias option
  -icc <string>            : ICC color profile to use
  -level2                  : generate Level 2 PostScript (PS, EPS)
  -level3                  : generate Level 3 PostScript (PS, EPS)
  -origpagesizes           : conserve original page sizes (PS, PDF, SVG)
  -paper <string>          : paper size (letter, legal, A4, A3, match)
  -paperw <int>            : paper width, in points
  -paperh <int>            : paper height, in points
  -nocrop                  : don\'t crop pages to CropBox
  -expand                  : expand pages smaller than the paper size
  -noshrink                : don\'t shrink pages larger than the paper size
  -nocenter                : don\'t center pages smaller than the paper size
  -duplex                  : enable duplex printing
  -opw <string>            : owner password (for encrypted files)
  -upw <string>            : user password (for encrypted files)
  -q                       : don\'t print any messages or errors
  -v                       : print copyright and version info
  -h                       : print usage information
  -help                    : print usage information
  --help                   : print usage information
  -?                       : print usage information
Happy LaTeXing!


