谢邀. 在这里主要介绍下查找思路:
首先编译你的这个 MWE,而后会生成一个 *.bbl
文件,这个是可以直观的查看最终 PDF 输出的内容的,发现里面:
\bibitem{满红2014CSTR}
满红.
CSTR过程的模型辨识及其非线性预测控制方法研究~[D].
[S.~l.]: 大连理工大学, 2014.
根据你的要求,那么我们检索 S.~l.
,发现 *.bst
里 140 行
FUNCTION {bbl.sine.loco} { language empty$ { "S.~l." } { "出版地不详" } if$ }
得知这个输出由函数 bbl.sine.loco
控制,那么我们就搜索这个函数,这时会在额外 5 处搜到(可能对应不同的 if
判断,实测只有第 1861 行有效)
1860 -- 1862 行原始如下:
address empty$
{
"[" bbl.sine.loco * "]" * bbl.colon * % 无出版地
school empty$
很好理解,意思就是
"[" bbl.sine.loco * "]" * bbl.colon
左方括号 S.~l. 右方括号 冒号
刚好和你的截图对应. 这几行处理后如下
address empty$
{
% "[" bbl.sine.loco * "]" * bbl.colon * % 无出版地
"" school empty$
注意到在注释掉这个function同时,还要在 school empty$
前加 ""
,否则会报错(你理解为“助动词”好了)
不过其他基础我也给你改了,改好的 *.bst
见附件.
在给你保留原汁原味的情况下,给你通过编译了,下次提供 MWE 不要搞这么长
\documentclass[fontset = fandol]{ctexbook}
\usepackage{zhlipsum}
\usepackage{titletoc}
\usepackage{titlesec}
\usepackage{geometry}
\usepackage{xcolor}
\usepackage{pagecolor}
\usepackage{layout}
\usepackage{chemfig,subcaption,graphicx,float}
\usepackage{listings}
\definecolor{background}{RGB}{215, 247, 250}
\definecolor{藏花红}{RGB}{236,45,122}
\definecolor{石绿}{RGB}{87,195,194}
\geometry{a4paper,centering,scale=0.9}
%自定义“目录名称”
\renewcommand{\contentsname}{\hfill\songti\bfseries\LARGE 文章目录 \hfill
}
\newfontfamily\codefont{Times New Roman}
\setcounter{chapter}{-1} % 初始化为-1,使第一个章节显示
\ctexset{
chapter = {
name = {\S}, % 将"第X章"改为"§ X"
number = \arabic{chapter}, % 阿拉伯数字编号
format = \songti\large\bfseries\centering, % 标题格式
beforeskip = 2.5ex, % 标题前间距
afterskip = 2.5ex, % 标题后间距
}
}
% 针对章(chapter)的目录格式
\titlecontents{chapter}[0pt] % 作用对象:章
{\songti\bfseries} % 全局格式:间距+右对齐+粗体
{\thecontentslabel} % 带编号格式
{} % 无编号格式(空)
{\titlerule*[8pt]{.}\contentspage} % 页码引导符+页码
\titleformat{\section}[frame]
{\color{藏花红}}
{\centering
\footnotesize
\enspace 节 \thesection\enspace}
{8pt}
{\bfseries\filcenter\songti}
[\vspace{-10pt}]
% 代码排版配置
% 自定义VBA语法高亮
\lstdefinelanguage{VBA}{
morekeywords={Sub, End, Dim, As, Set, Range, Worksheet, MsgBox,
If, Then, Else, For, Next, Do, While, Loop, Integer, String},
sensitive=true,
morecomment=[l]{'}, % 单行注释
morestring=[b]{"}, % 字符串定义
keywordstyle=\codefont\color{blue},
stringstyle=\codefont\color{red},
basicstyle=\codefont\small,
keepspaces=true,
numbers=left,
% 边距控制
xleftmargin=2em, % 左边界距
xrightmargin=2em, % 右边界距
framexleftmargin=1em, % 框线左间距
framexrightmargin=1em, % 框线右间距
columns=fullflexible
}
\lstset{
language=VBA,
backgroundcolor=\color{gray!10},
escapeinside=``, % 中文注释处理
}
\begin{document}
\title{XVBA教程}
\author{吕旋延}
\date{\today}
\maketitle
\tableofcontents
\chapter{哈哈哈}
\section{初步}
\begin{lstlisting}[caption={生成斐波那契数列},label={code:fib}]
'`斐波那契数列生成函数`
Sub GenerateFibonacci()
Dim n As Integer
Dim i As Integer
Dim fib() As Long
n = InputBox("请输入数列项数:", "输入", 10)
ReDim fib(n)
fib(0) = 0
fib(1) = 1
For i = 2 To n - 1
fib(i) = fib(i - 1) + fib(i - 2)
Next i
'`输出结果`
MsgBox "前" & n & "项斐波那契数列:" & vbCrLf & Join(fib, ", ")
End Sub
\end{lstlisting}
\end{document}
PDF 的问题,如 @u40 老师所说:
我的解决方案就是pdf2ps SDUlogo.pdf
epstopdf SDUlogo.ps
然后就OK了
或者 Inkscape / AI 重新导出,也能解决问题.
我尝试了使用
gs -o <output.pdf> sDEVICE=pdfwrite <input.pdf>
以及
mutool clean -a -z -d -gggg <input.pdf> <output.pdf>
均无法修复,此问题可能涉及在以前 dvipdfm-x
程序导致 Inkscape 导出的 PDF 插入后使用 xelatex
编译透明度失效,后被 @马起园 老师修复,但是又牵扯进来新的问题. 当然也不一定是这个问题导致的. 想要引擎层面彻底解决,需要比对处理前后的PDF,找出是什么导致了这个问题?并提交 Issue(前提是,如果是某段inputstream 导致,那只能硬着头皮提交了,把分析工作交给他们...)
你只有 \begin
,没有 \end
,当然编译出不来啊...
\documentclass{ctexart}
\usepackage{mathtools}
\title{二队关于插值的理解(主要来源于司守奎老师)}
\author{二队\and 为啥\thanks{这次我了解到并知道怎么会用脚注了}
\and 就是
\and 就是就是}
\date{\today}
\begin{document}
\[
l_0(x) =
\begin{cases}
\frac{(x - x_1)}{x_0 - x_1}, & x \in [x_0,x_1] \\
0, & \text{其他}
\end{cases}
\]
\end{document}
或者你可以用 parabola
路径绘制抛物线,然后在同一条路径中绘制椭圆弧,然后再绘制抛物线返回原点,这样效果或许会更好些.
这个 solution 的方案见最下方代码的上半部分的 tikzpicture
环境
添加 line cap = round
,然后根据你画的抛物线 1/16*pow(8, 2)
,那么切点坐标是 8^2/16 = 4
,那么椭圆的半长州值我也给你改了改,拼合痕迹没了.
但是还是会相交一点,这个问题是数学问题,俾人数学能力有限,你可以请教下数学方面的同学(比如改用别的曲线)
\documentclass[tikz, border = 10pt]{standalone}
\begin{document}
\begin{tikzpicture}[scale = .5]
\draw (8,0) ellipse (.4 and 4);
\draw [ line join = round ] (0,0) parabola (8,4) arc (90:-90:.4 and 4) parabola bend (0,0) (0,0) -- cycle;
\end{tikzpicture}
\begin{tikzpicture}[scale = .5]
\draw[domain=0:8, smooth, variable=\x, line cap = round] plot ({\x}, {1/16*pow(\x, 2)});
\draw[domain=0:8, smooth, variable=\x, line cap = round] plot ({\x}, {-1/16*pow(\x, 2)});
\draw (8,0) ellipse (.4 and 4);
\end{tikzpicture}
\end{document}
只画一个,后面的你可以选择套用循环,或者复制粘贴
\documentclass{ctexart}
\usepackage{tikz}
\begin{document}
\begin{tikzpicture}
\node [ circle, draw ] (a) {};
\node [ circle, draw, fill, xshift = 1cm ] (b) at (a) {};
\node [ circle, draw, fill, shift = {({sin(18)}, {cos(18)})} ] (c) at (b) {};
\node [ circle, draw, fill, shift = {({-cos(36)}, {sin(36)})} ] (d) at (c) {};
\node [ circle, draw, fill, shift = {({-cos(36)}, {-sin(36)})} ] (e) at (d) {};
\draw (a) -- (b) -- (c) -- (d) -- (e) -- (a);
\end{tikzpicture}
\end{document}
可以像 xcolor
那样 $(B)!0.5!(D)$
,当然由于需要运算模式 $$
包裹,tikz
的 calc
库是需要被调用的
The following is an example:
\documentclass{article}
\usepackage{tikz}
\usetikzlibrary{calc}
\begin{document}
\begin{tikzpicture}
\coordinate [label = right: $B$] (B) at (1,3);
\coordinate [label = right: $D$] (D) at (2,4);
\coordinate [label = right: $E$] (E) at ($(B)!0.5!(D)$);
\end{tikzpicture}
\end{document}
这是2e的版本,请参考CTAN上的User's manual: notebeamer
截图中的 expl3
使用命令方式重制版暂未发布,请等待更新.
Update on 11:40, 15/10/2024: Version 4.1A已发布
Archive.zip
\textbf{...\\...}
,给你改过来了example-image
给你替代了,记得改过来expl3
的 int_step_inline
给你重写了 [其实 \foreach
貌似也可以,但这应该是我的职业病 :)] 里面 #1
代表变量,你可以自己在这个基础上改.geometry
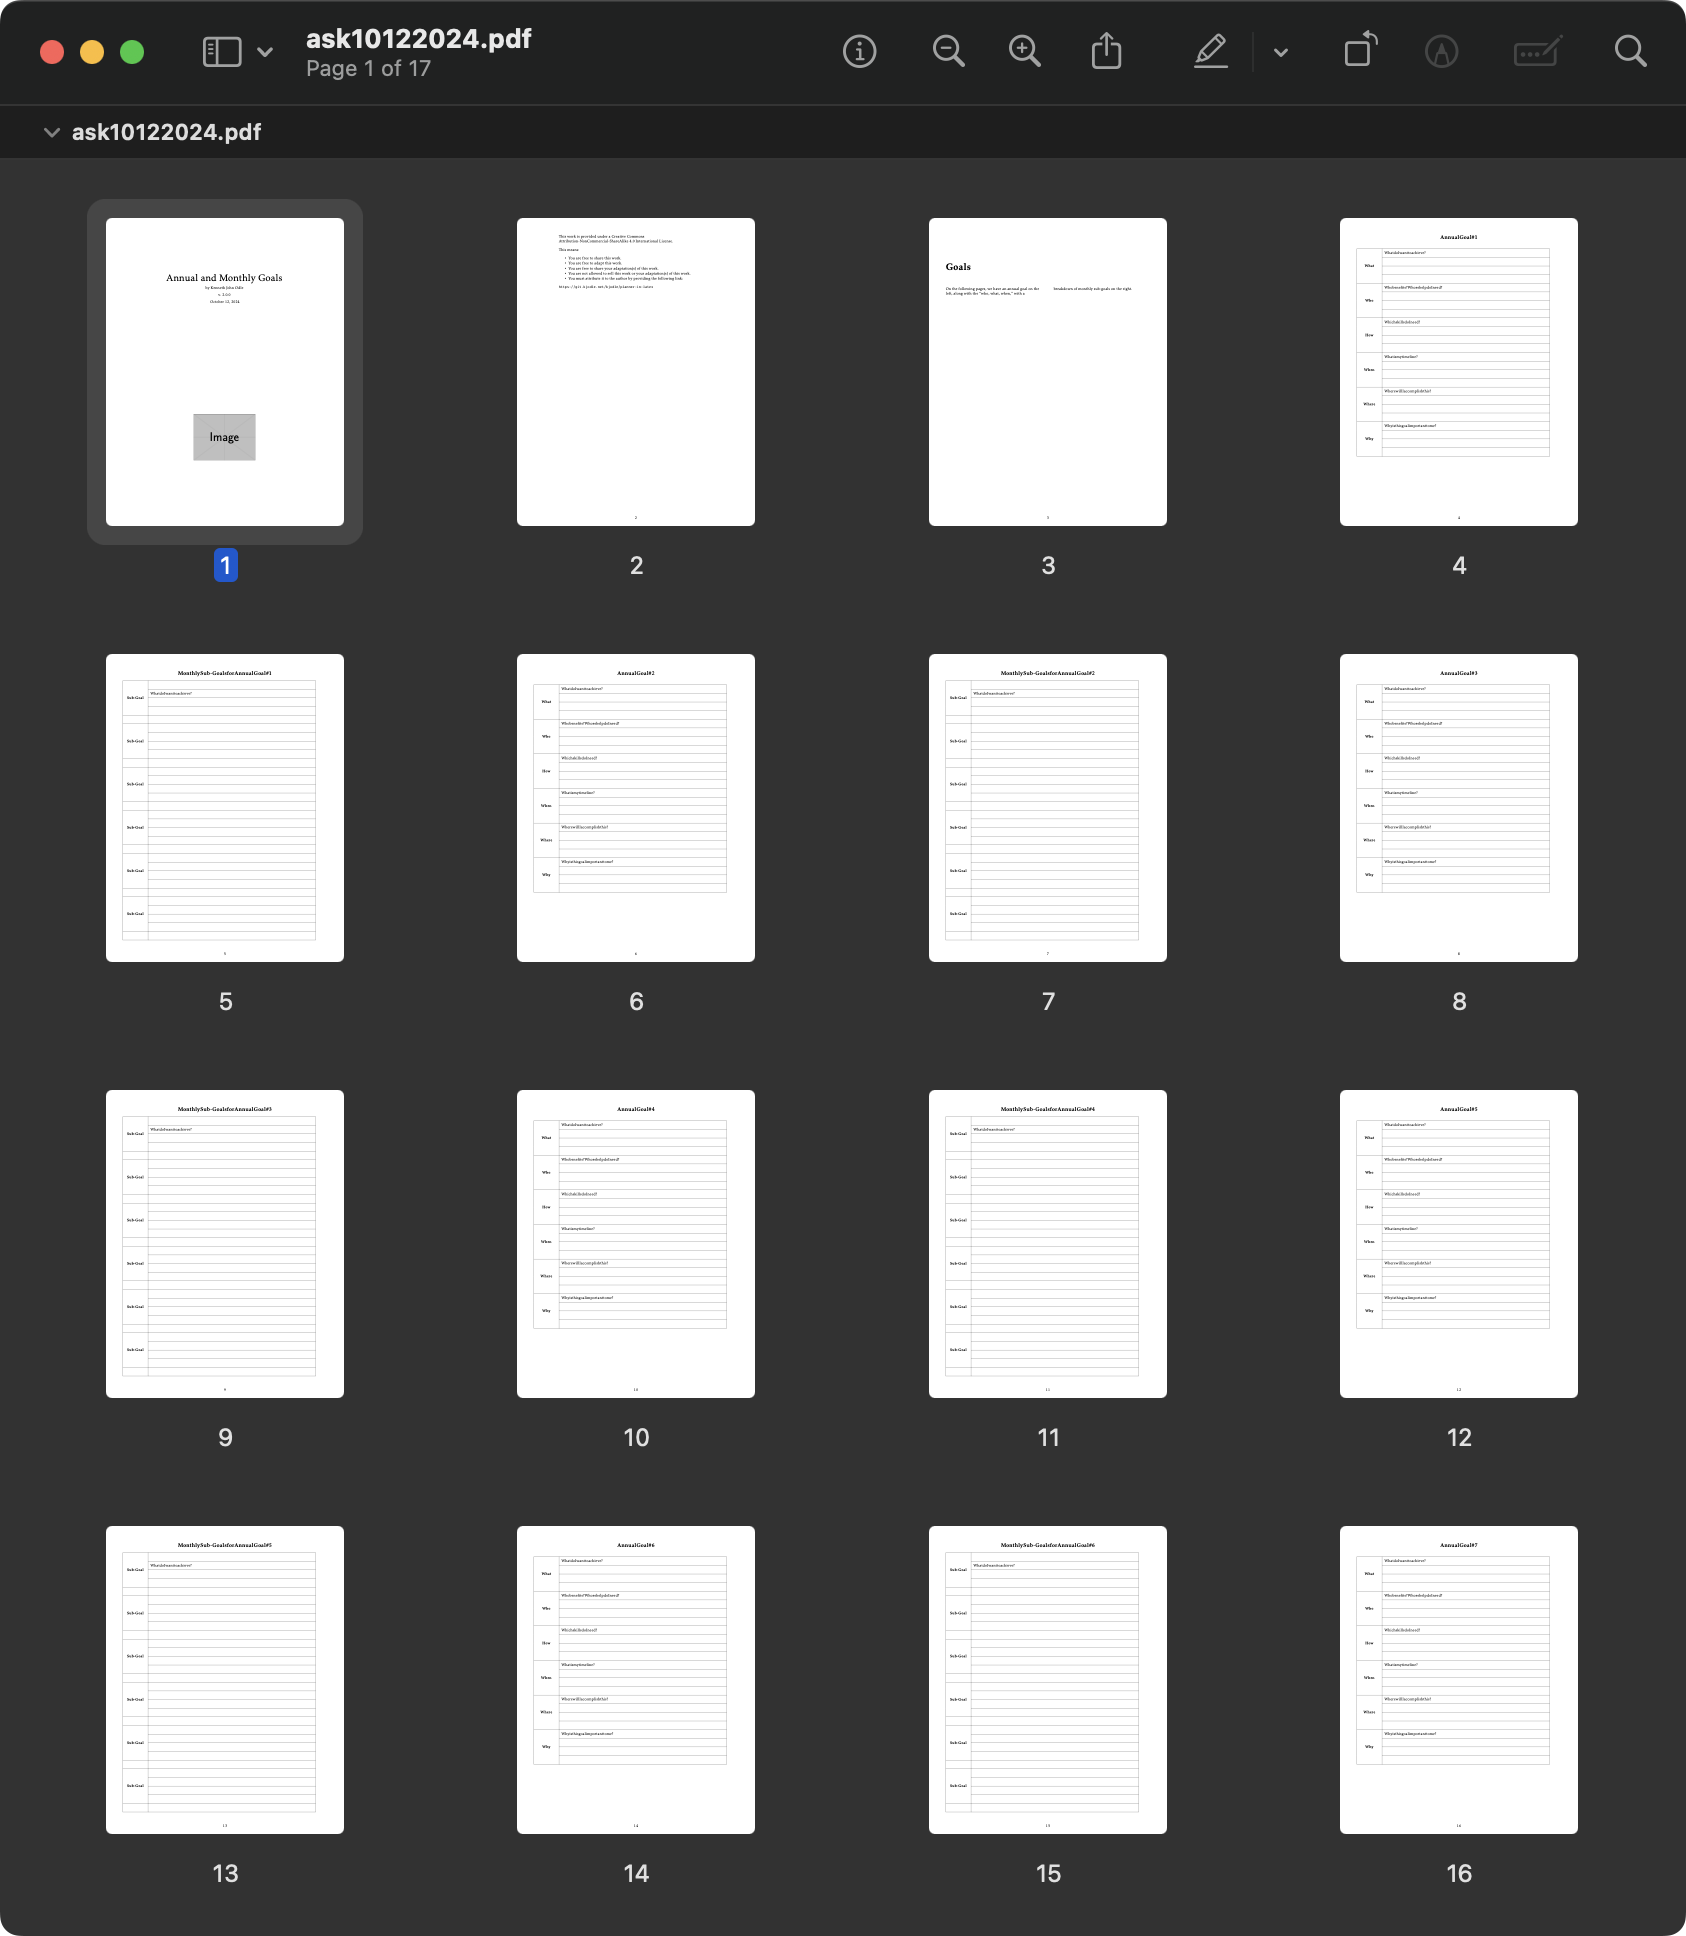
给你改了,不然好几页表格都塞不下 :(The following figure is a preview of the final effect
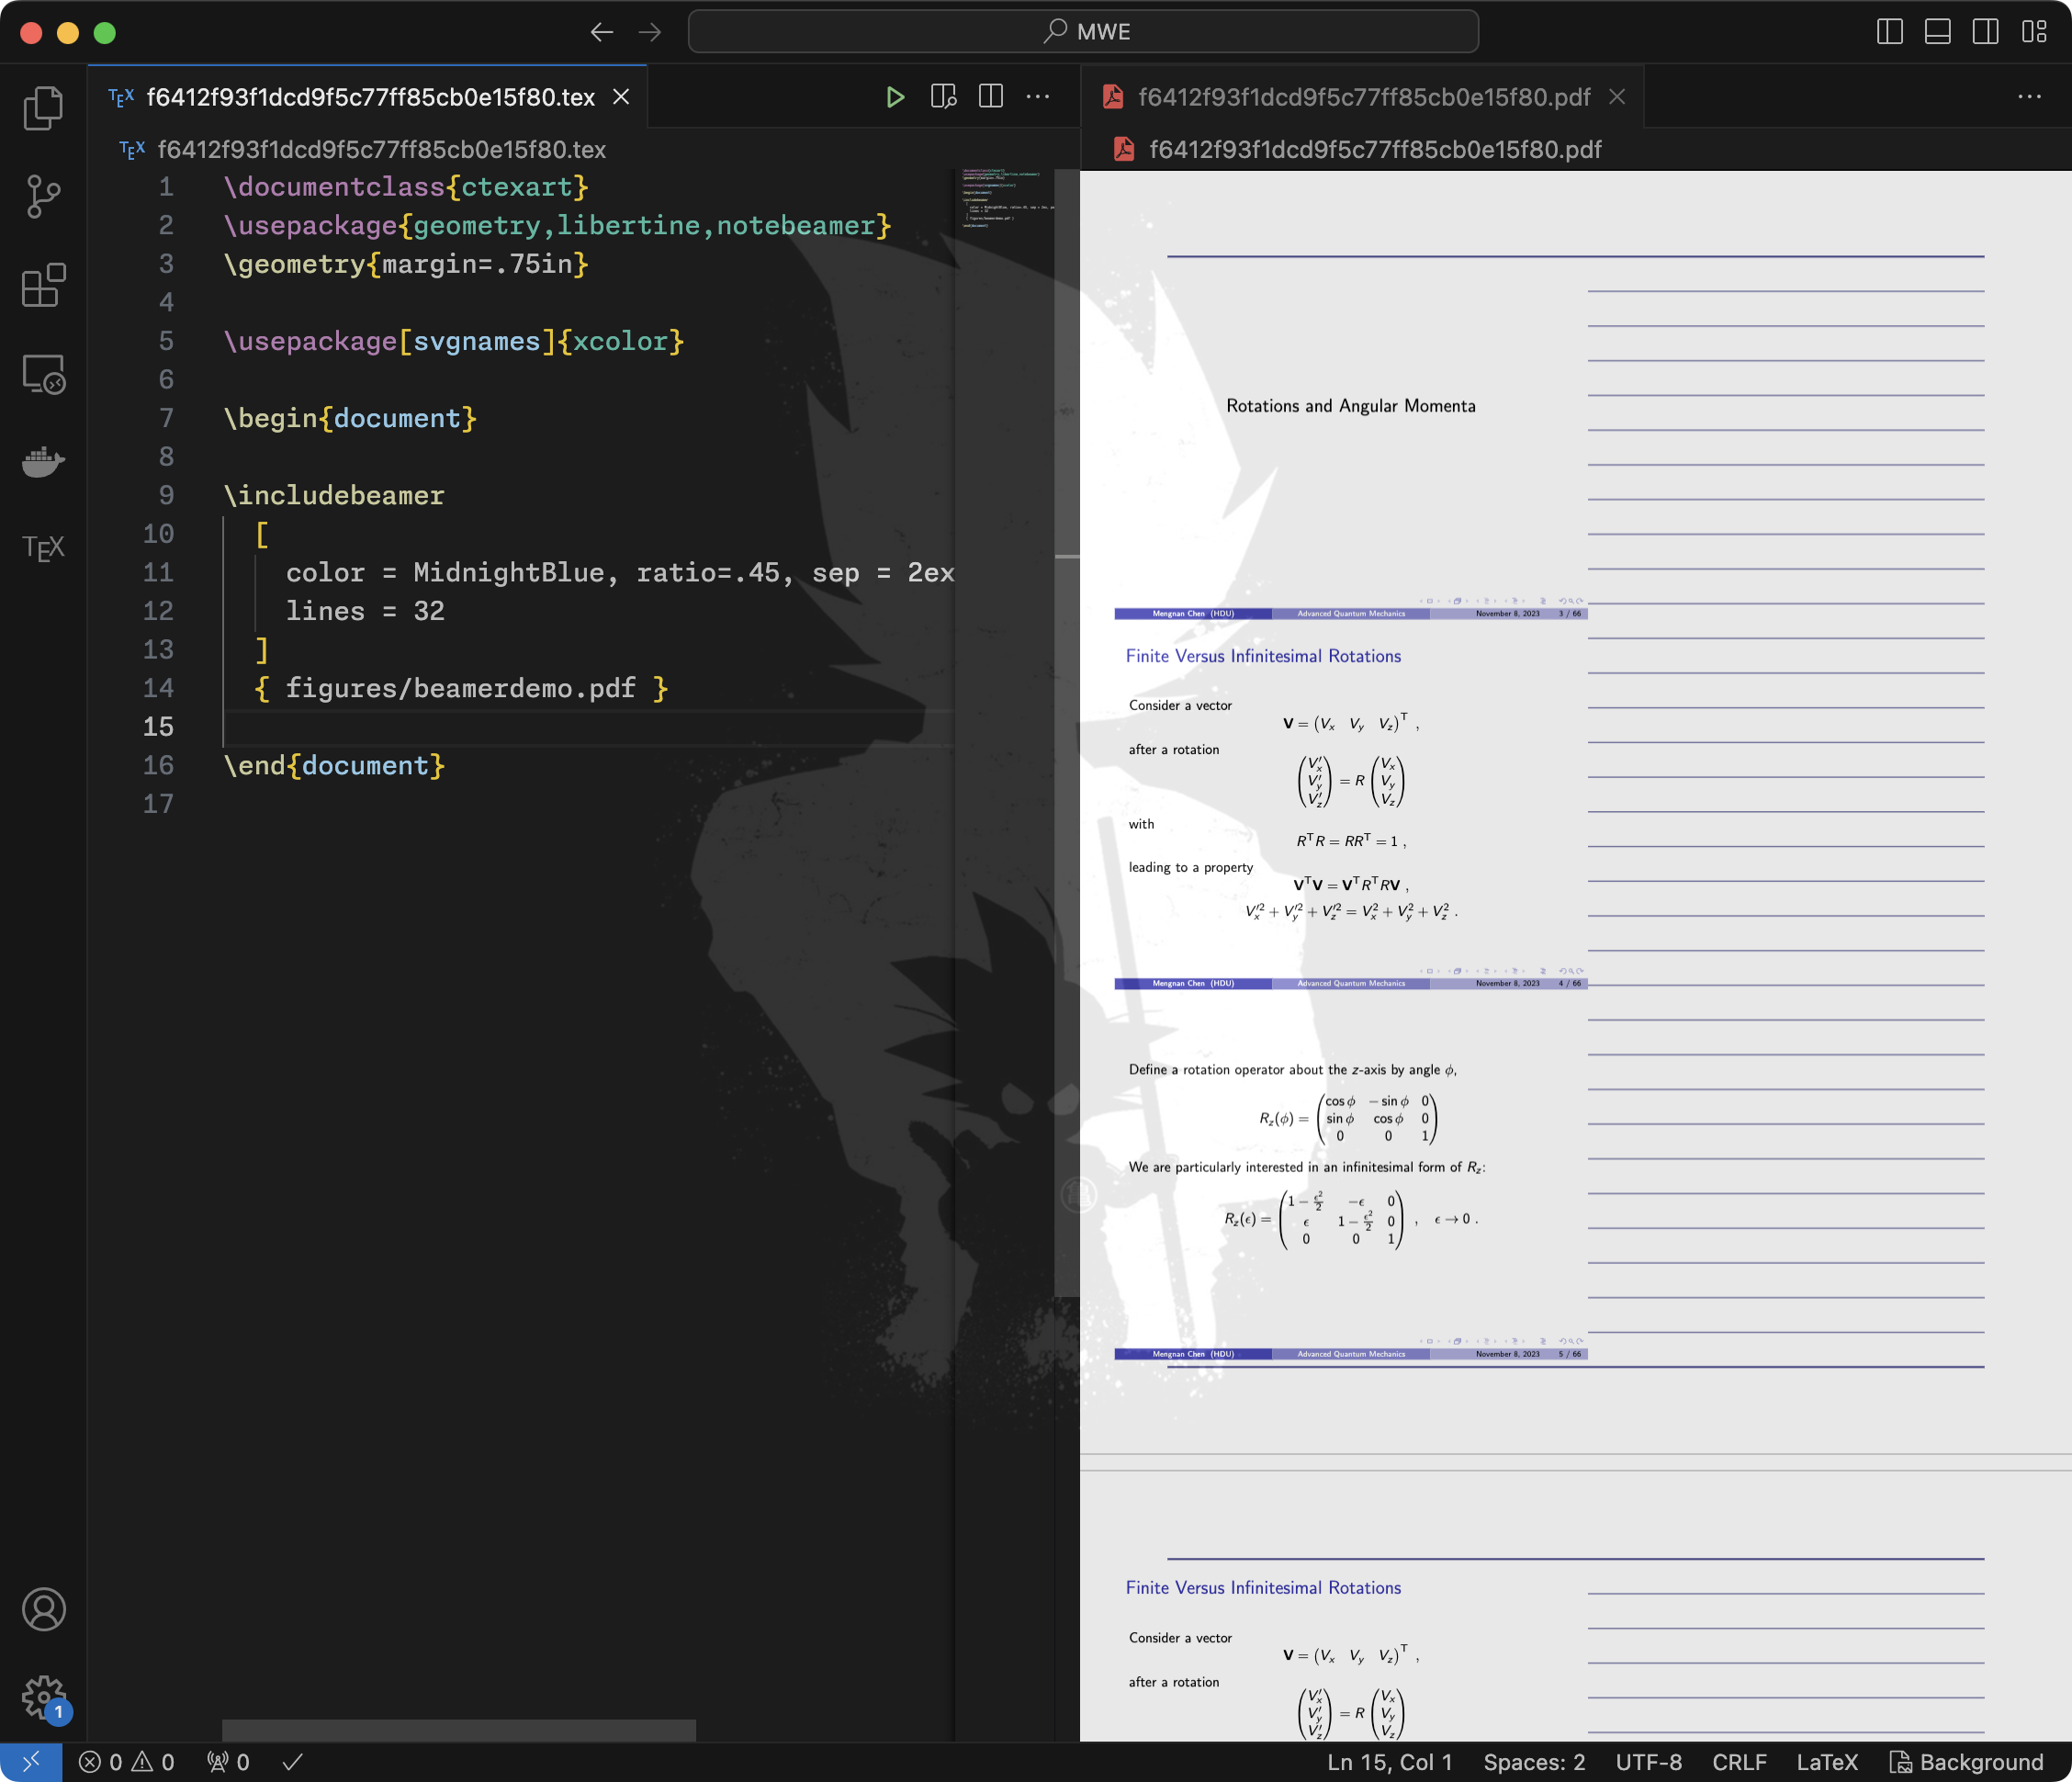
感谢群友🐟老师 ExplSyntax包定义外面即可
你可以使用caption包设置长度,不过这里我给出一种钩子的方法:
\documentclass{article}
\usepackage{lipsum,mwe}
\begin{document}
\lipsum[1]
\begin{figure}[!htbp]
\begin{minipage}{.48\linewidth}
\centering
\includegraphics[width=0.5\linewidth]{example-image}
\caption{Captiona}
\end{minipage}
\begin{minipage}{.48\linewidth}
\centering
\includegraphics[width=0.5\linewidth]{example-image}
\caption{Captionb}
\end{minipage}
\end{figure}
\lipsum[2]
\clearpage
\AddToHook{cmd/endfigure/before}{\vspace{-2.5ex}}
\lipsum[1]
\setlength{\belowcaptionskip}{-10em}
\begin{figure}[!htbp]
\begin{minipage}{.48\linewidth}
\centering
\includegraphics[width=0.5\linewidth]{example-image}
\caption{Captiona}
\end{minipage}
\begin{minipage}{.48\linewidth}
\centering
\includegraphics[width=0.5\linewidth]{example-image}
\caption{Captionb}
\end{minipage}
\end{figure}
\lipsum[2]
\end{document}
粗略解释,因为方括号会和可选参数冲突,解决方法就是用花括号括起来
\documentclass{article}
\usepackage{enumitem} % 导入宏包
\begin{document}
\begin{enumerate}[label={[\arabic*]}] % 设置列表标签格式
\item x
\item y
\item z
\end{enumerate}
\end{document}
你所使用的verbatim环境内的代码字体为打字机等宽,在跨页时,会"误伤"到页脚等元素,你可以使用fancyvrb包的Verbatim环境(V大写)替代verbatim环境,"误伤"的问题便得以解决.
附件为修改后的代码,当然Verbatim环境的字体可能在字号、加粗等方面和默认的verbatim环境略有不同,你可以在终端机输入texdoc fancyvrb
查看用户手册,更改代码样式
124004f7d259b29c9999367043c4f851.tex
问 xelatex编译用ctex包制作的tex文件时报错“Cannot use \XeTeXOTcountfeatures with nullfont”,怎么解决?