如何全局设置图片与下方文字间距

发布于 2024-08-24 23:04:56

测试代码如下:

% !TeX TS-program = pdflatex
\documentclass[]{article}
\usepackage{hyperref,cleveref}
\usepackage{appendix}
\usepackage[font=small]{caption}
\usepackage{booktabs}
\usepackage{array}
% 调整列间距和行间距
\setlength{\tabcolsep}{10pt}
\renewcommand{\arraystretch}{1.5}    
\usepackage{lipsum}
\usepackage[caption=false]{subfig}
\usepackage{graphicx}

\begin{document}

\lipsum[1-2] % 生成第1到第2段文本
\begin{figure}[h!]
    \centering
    \begin{minipage}{0.49\linewidth}
        \centering
        \includegraphics[width=0.99\linewidth]{p1.png}
        
        \caption{A}
        \label{Hezi1}%文中引用该图片代号
    \end{minipage}
    %\qquad
    \begin{minipage}{0.499\linewidth}
        \centering
        \includegraphics[width=0.999\linewidth]{p1.png}
        
        \caption{B}
        \label{Hezi2}%文中引用该图片代号
    \end{minipage}
\end{figure}
\lipsum[3] % 生成第3到第4段文本
\end{document}

测试代码的图:{{p1.png(uploading...)}}

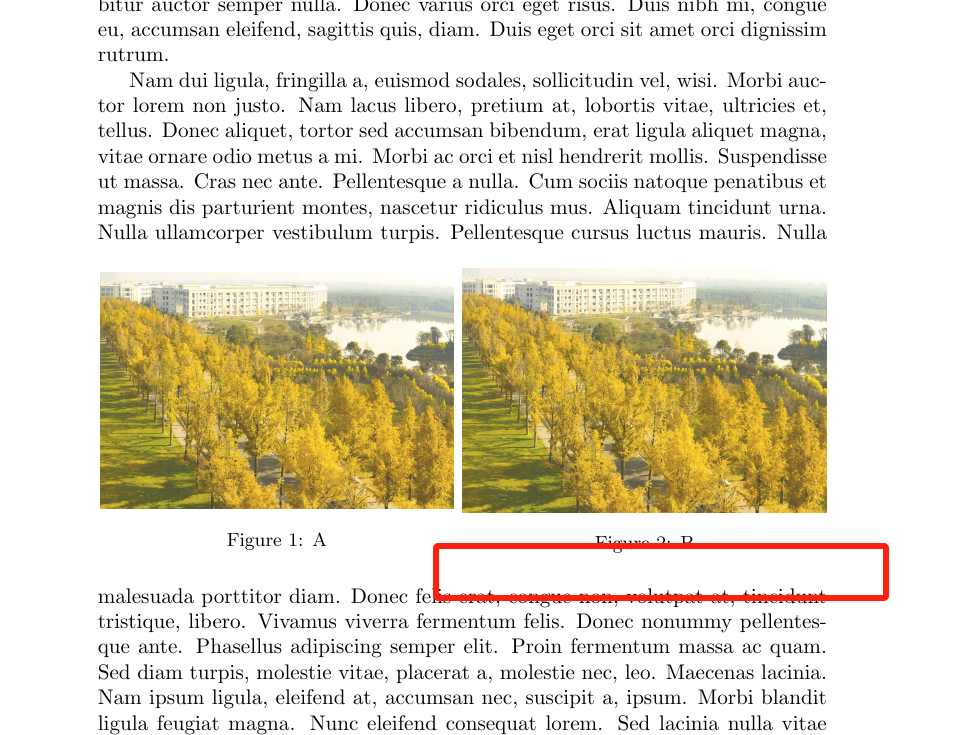
如图所示,如何缩小图片与文字的间距
微信图片_20240824230112.png

查看更多

关注者
0
被浏览
892
Skyrmion
Skyrmion 2024-08-24
Looking forward to my Ph.D. offer...
  • 请正确使用markdown!

解答

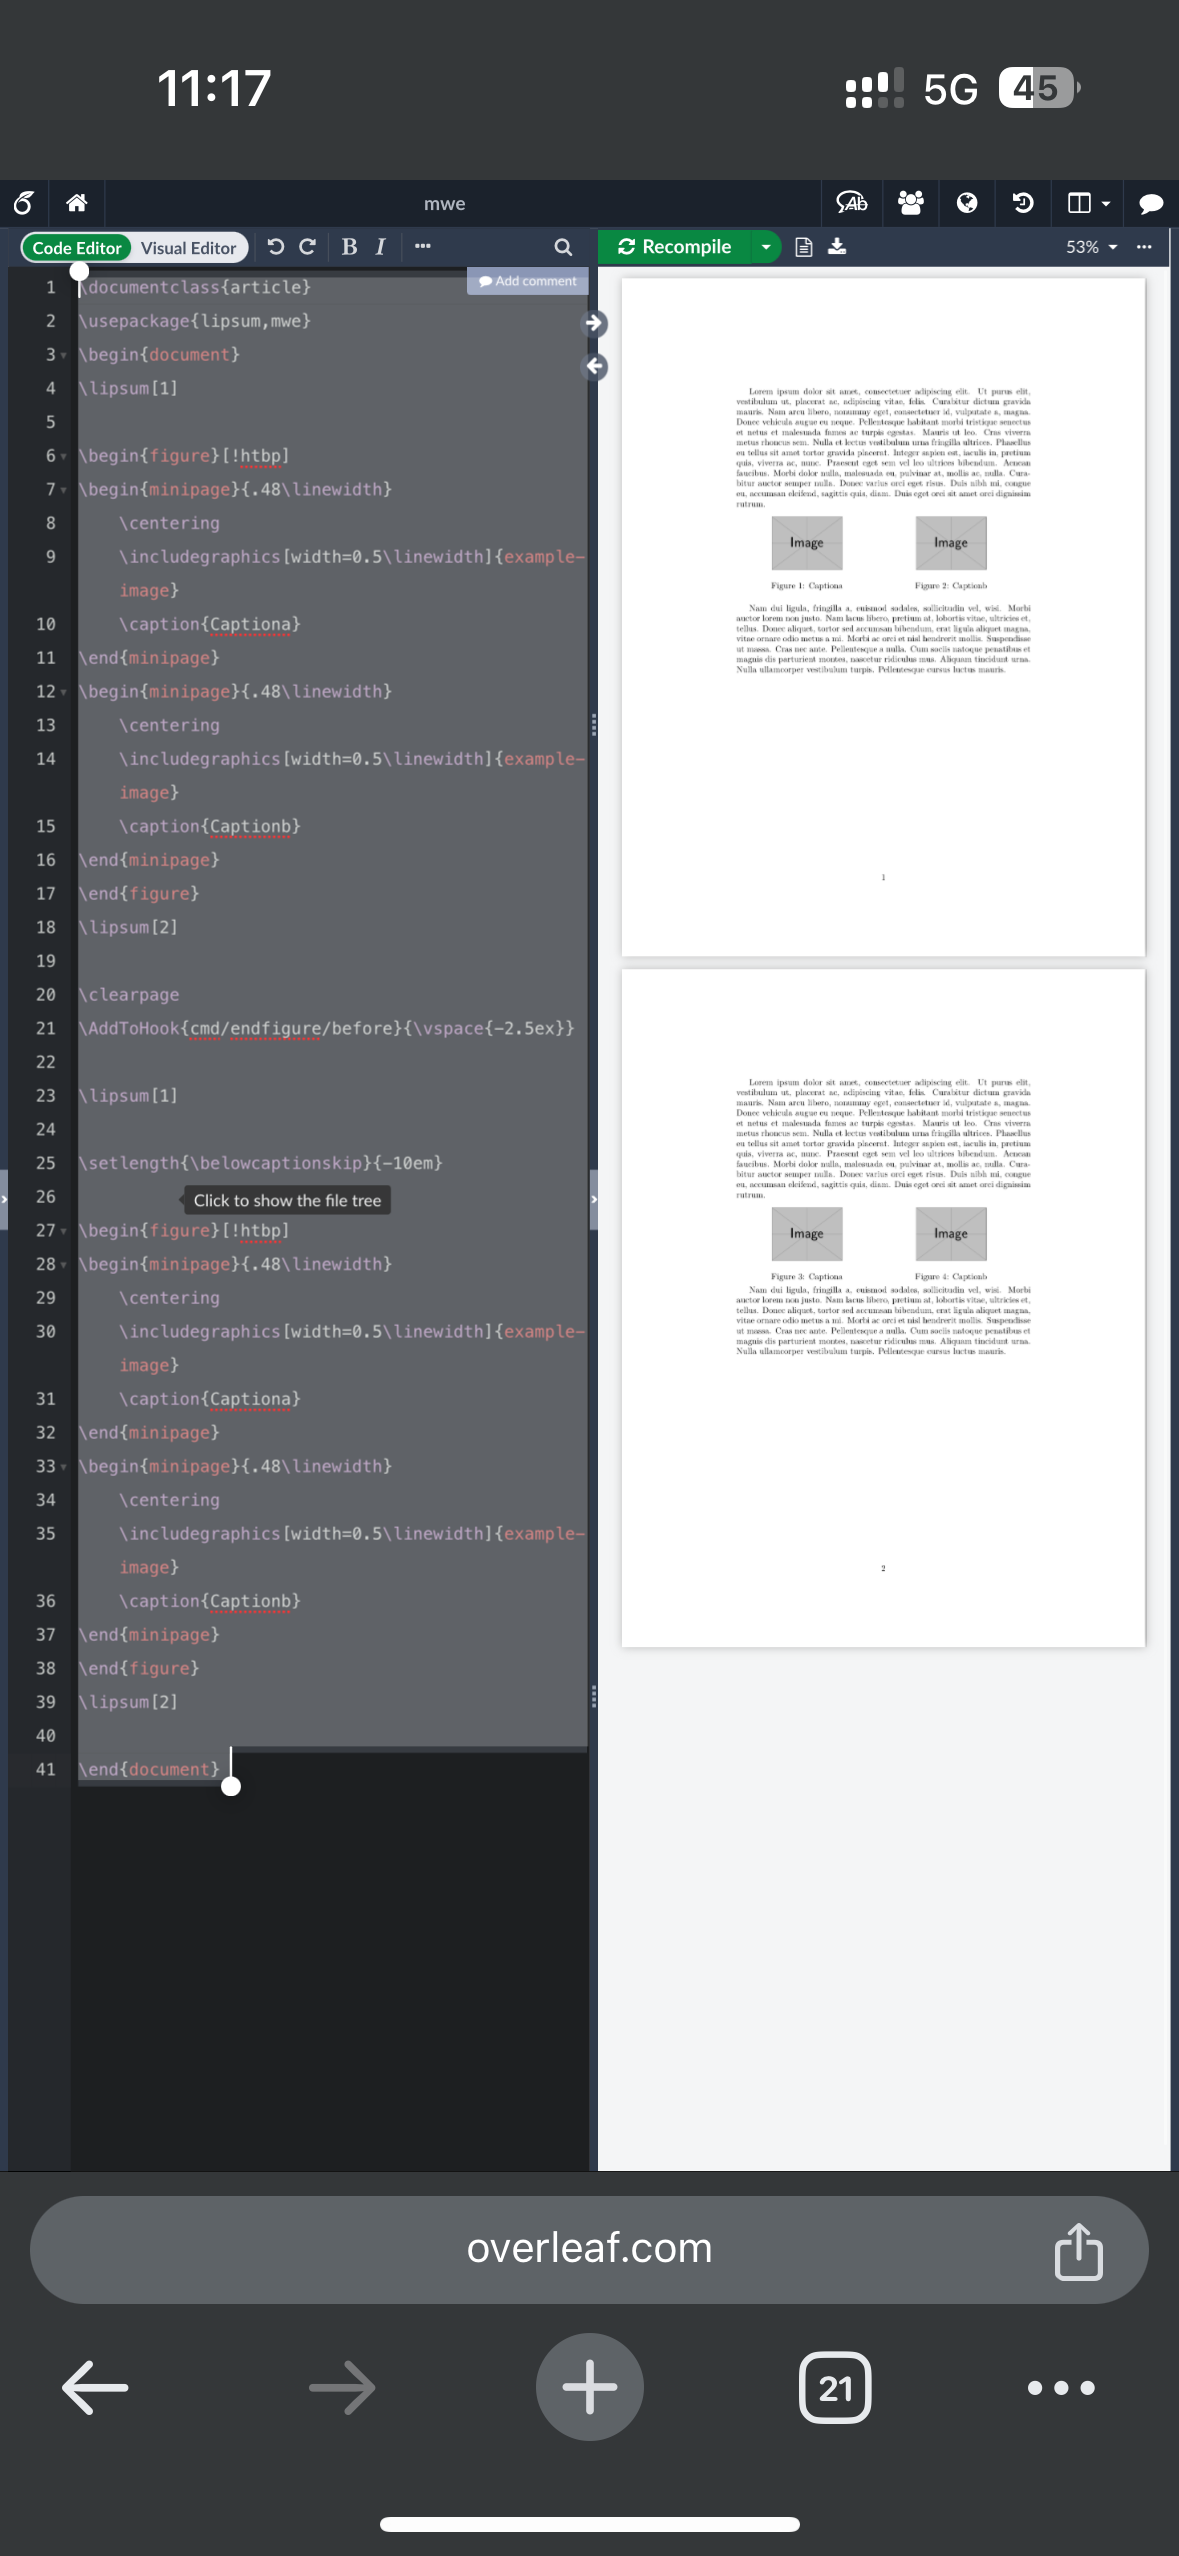
你可以使用caption包设置长度,不过这里我给出一种钩子的方法:


\documentclass{article}
\usepackage{lipsum,mwe}
\begin{document}
\lipsum[1]

\begin{figure}[!htbp]
\begin{minipage}{.48\linewidth}
    \centering
    \includegraphics[width=0.5\linewidth]{example-image}
    \caption{Captiona}
\end{minipage}
\begin{minipage}{.48\linewidth}
    \centering
    \includegraphics[width=0.5\linewidth]{example-image}
    \caption{Captionb}
\end{minipage}
\end{figure}
\lipsum[2]

\clearpage
\AddToHook{cmd/endfigure/before}{\vspace{-2.5ex}}

\lipsum[1]

\setlength{\belowcaptionskip}{-10em}

\begin{figure}[!htbp]
\begin{minipage}{.48\linewidth}
    \centering
    \includegraphics[width=0.5\linewidth]{example-image}
    \caption{Captiona}
\end{minipage}
\begin{minipage}{.48\linewidth}
    \centering
    \includegraphics[width=0.5\linewidth]{example-image}
    \caption{Captionb}
\end{minipage}
\end{figure}
\lipsum[2]

\end{document} 

IMG_0744.png

2 个回答
Sagittarius Rover
Sagittarius Rover 2025-01-12
我要成为Typst糕手/(ㄒoㄒ)/~~

@u7751 这个图都没上传成功...
image.png

另外你可以看一下mwe宏包提供的example-image.pdf图片。

反对一下@u79794 老师的观点

caption宏包提供的\abovecaptionskip\belowcaptionskip只能调节caption与图片之间的距离

而要想调节浮动体(float)与文本(text)之间的距离,可以调整以下参数:

  • \textfloatsep — distance between floats on the top or the bottom and the text;
  • \floatsep — distance between two floats;
  • \intextsep —— distance between floats inserted inside the page text (using h) and the text proper.

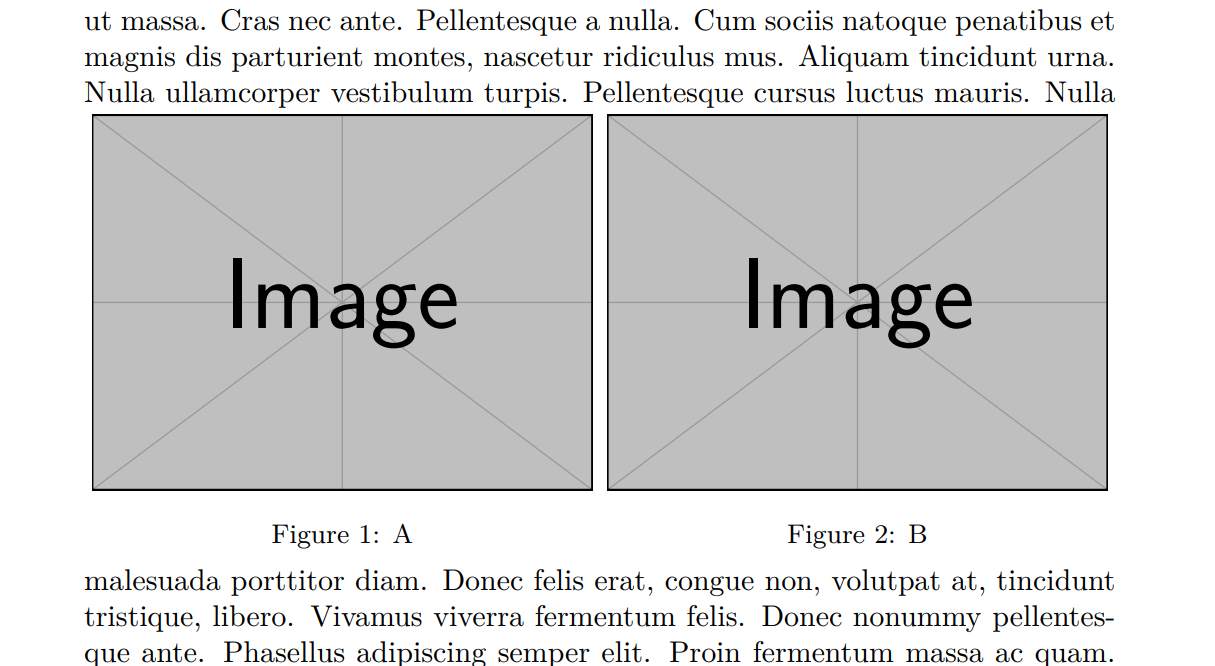
在你的例子中,可以调整\intextsep的长度

\documentclass{article}
\usepackage[font=small]{caption}
\usepackage{lipsum}
\usepackage{graphicx}
\begin{document}
\setlength{\intextsep}{.2\baselineskip} 
% change the distance between the caption and the bottom of the images
% \setlength\abovecaptionskip{.2\baselineskip}
% change the distance between the float and next text
\lipsum[1-2]
\begin{figure}[htbp]
    \centering
    \begin{minipage}{.49\linewidth}
        \centering
        \includegraphics[width=.99\linewidth]{example-image}
        \caption{A}
    \end{minipage}
    \begin{minipage}{.49\linewidth}
        \centering
        \includegraphics[width=.99\linewidth]{example-image}
        \caption{B}
    \end{minipage}
\end{figure}
\lipsum[3]
\end{document}

image.png

撰写答案

请登录后再发布答案,点击登录

发布
问题

分享
好友

手机
浏览

扫码手机浏览